Before You Start
30 minutes
Setting Everything Up
Before writing any code, you need two things on your computer: Python (the programming language) and a place to write your code. This section walks through both, step by step. Do not skip this section — a five-minute mistake during setup can cause hours of confusing errors later.
The entire setup process should take no more than 30 minutes.
Step 1 — Check if Python is already installed
Many computers already have Python. Before downloading anything, check if yours does.
On a Mac, open the Terminal application. You can find it by pressing Command + Space and typing Terminal.
On Windows, open the Command Prompt. Press the Windows key, type cmd, and press Enter.
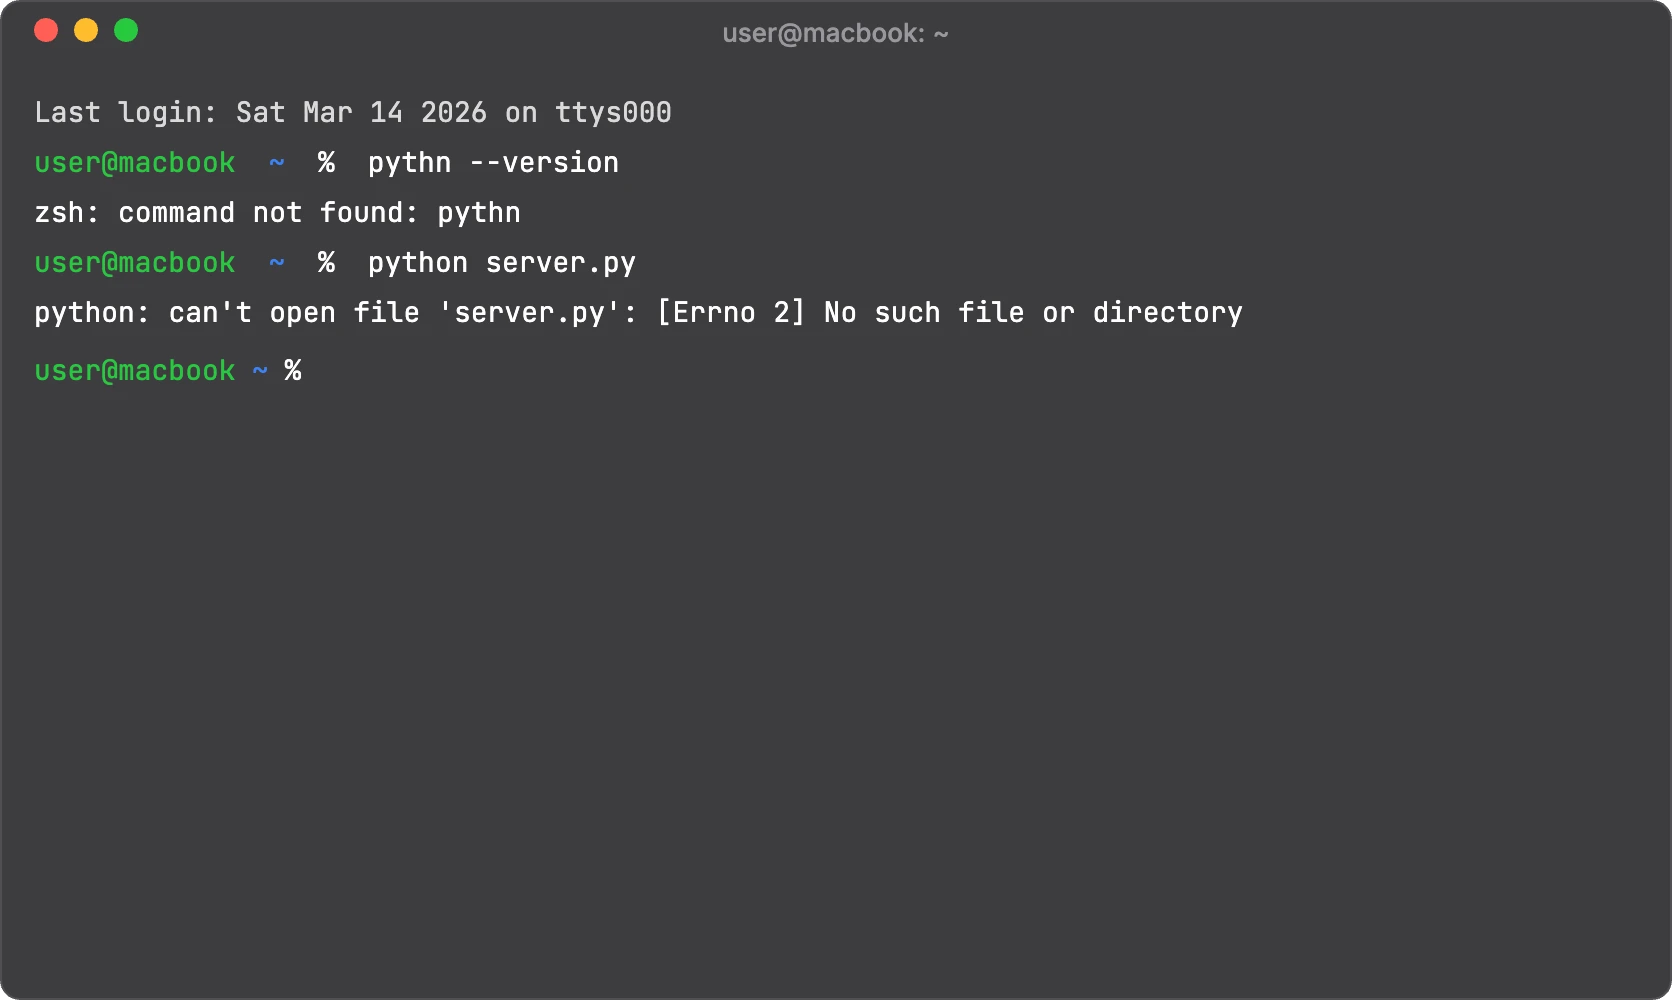
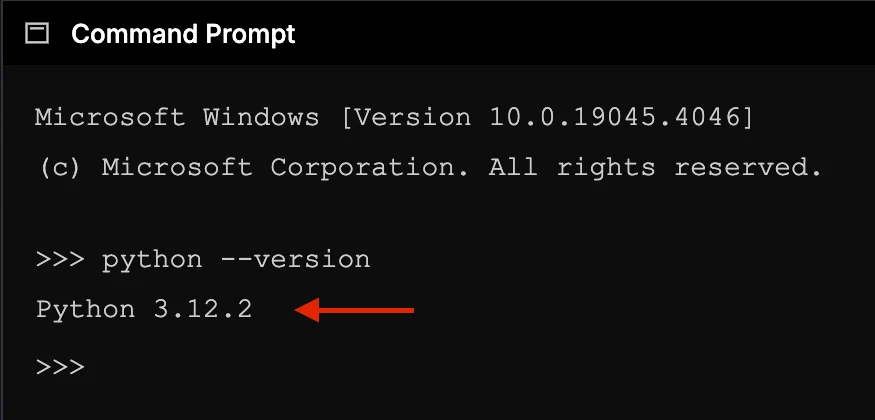
In either window, type the following and press Enter:
python --version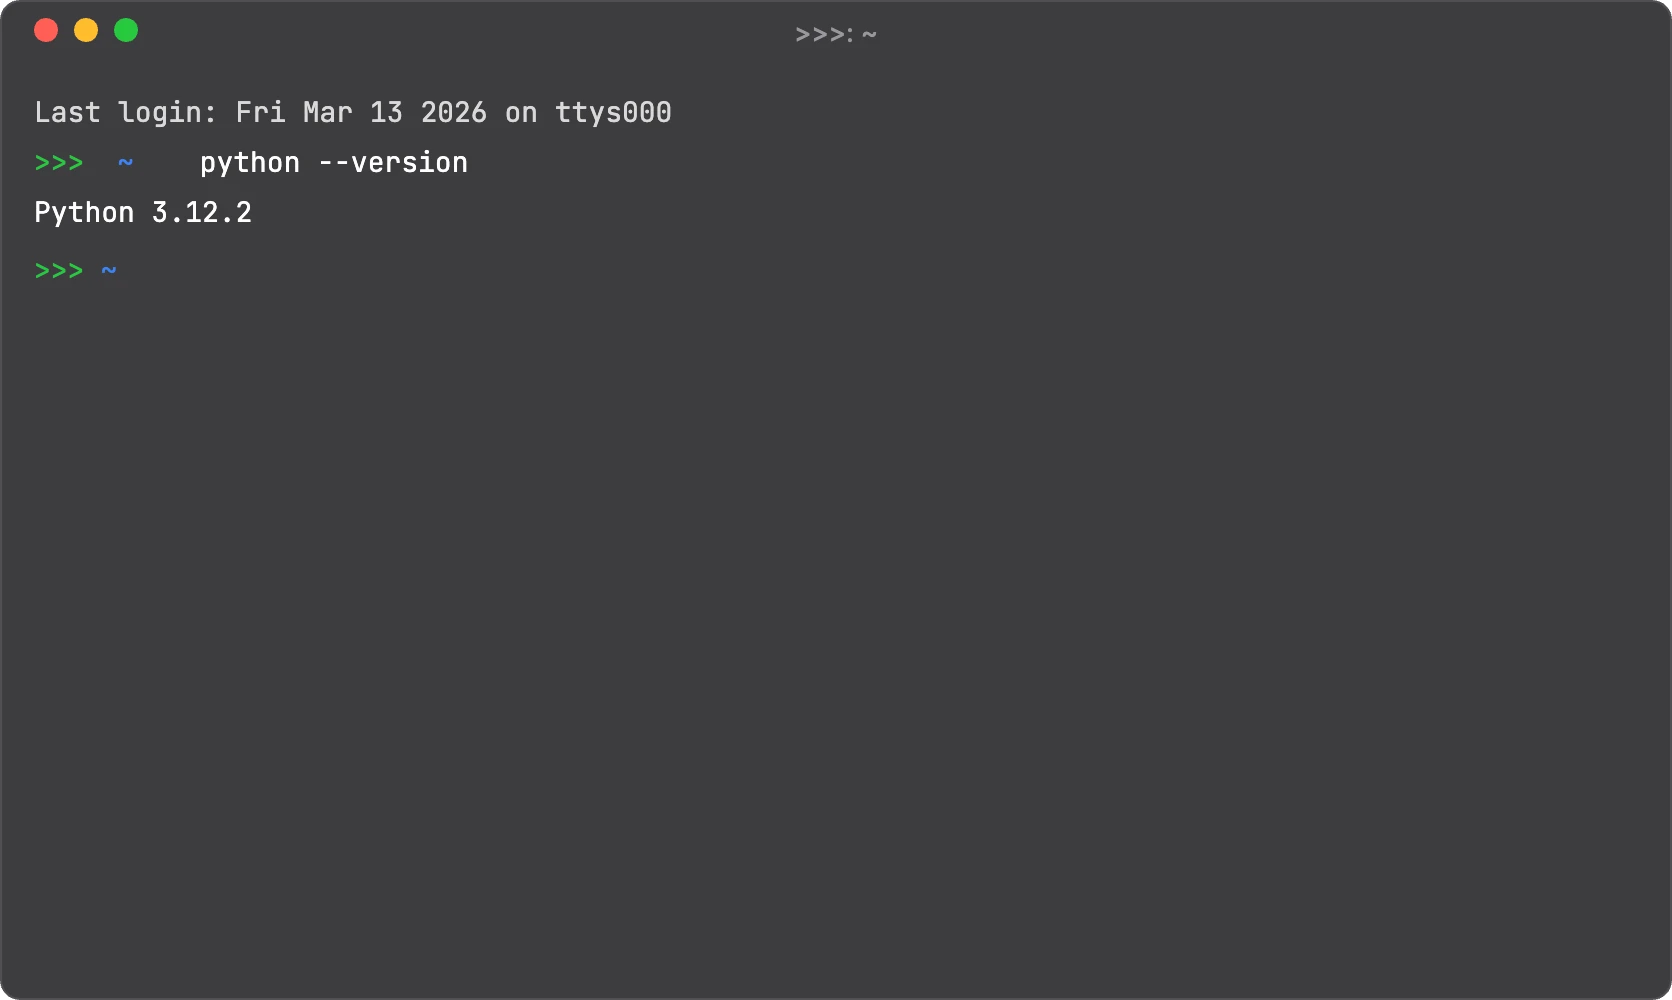
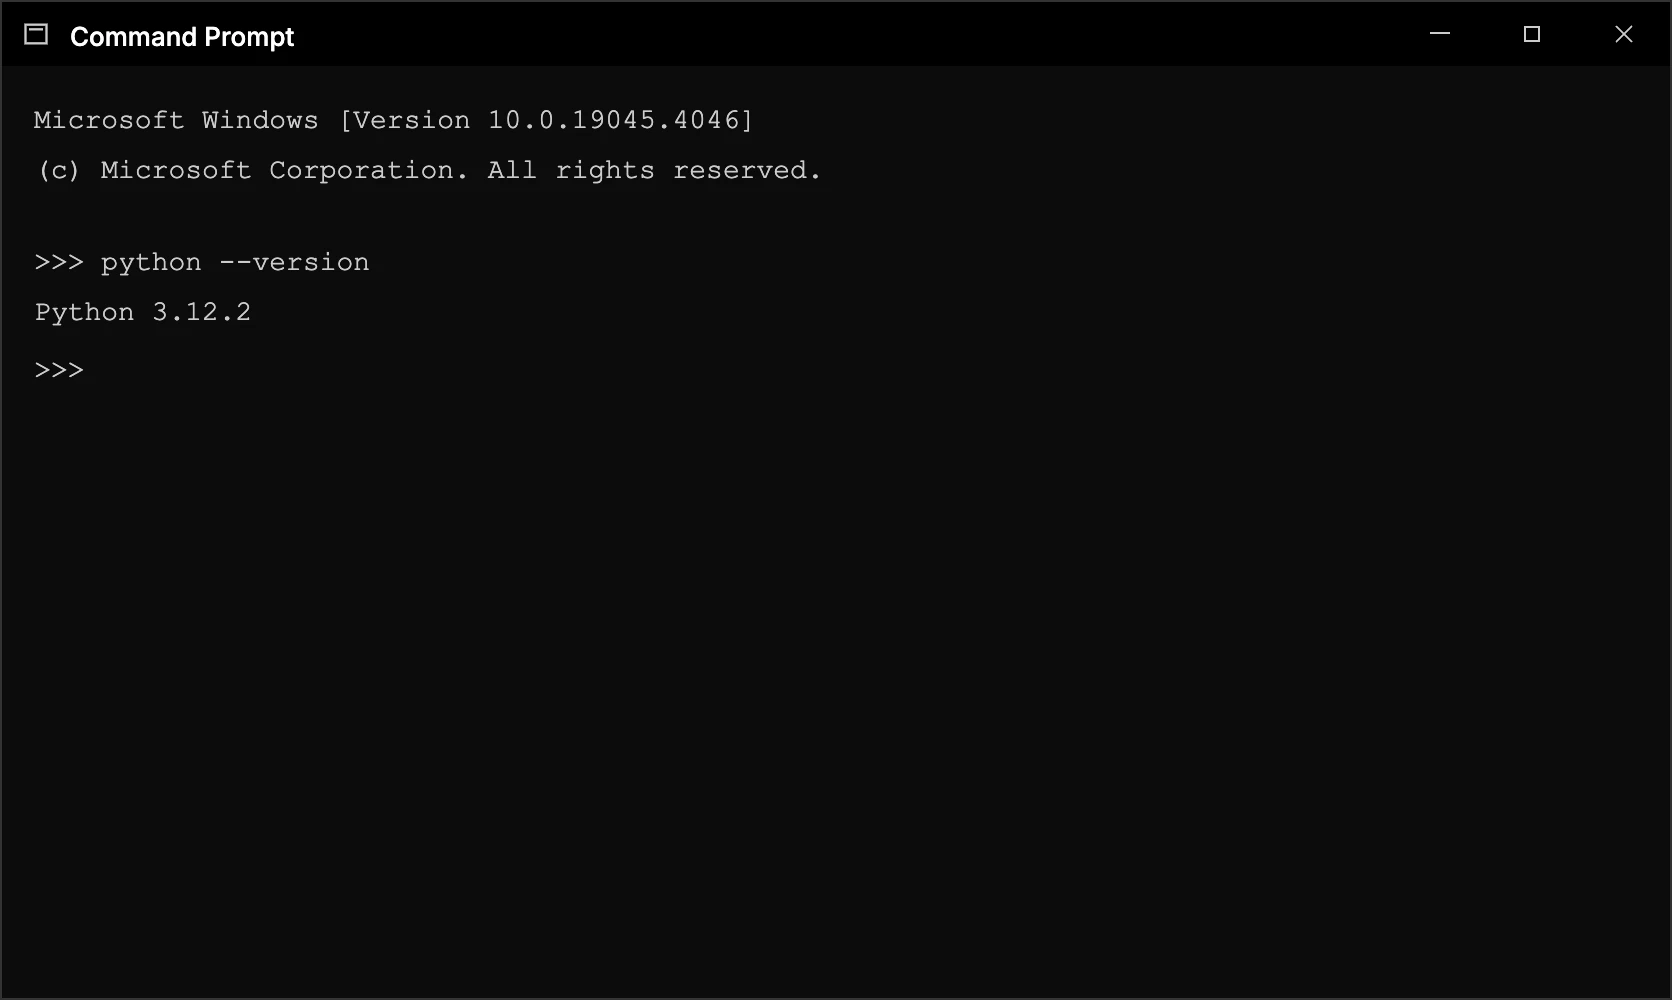
If you see a response like Python 3.12.2 (any number starting with 3), Python is already installed and you can skip to Step 3.
If you see an error, or a number starting with 2, continue to Step 2.
Mac Tip
On some Macs, you may need to type python3 --version instead. If that returns a number starting with
3, you are good to go — just remember to use python3 whenever this course says python.
Step 2 — Download and install Python
Open your web browser and go to python.org/downloads. At the top of the page you will see a large yellow button that says something like:
Download Python 3.x.x
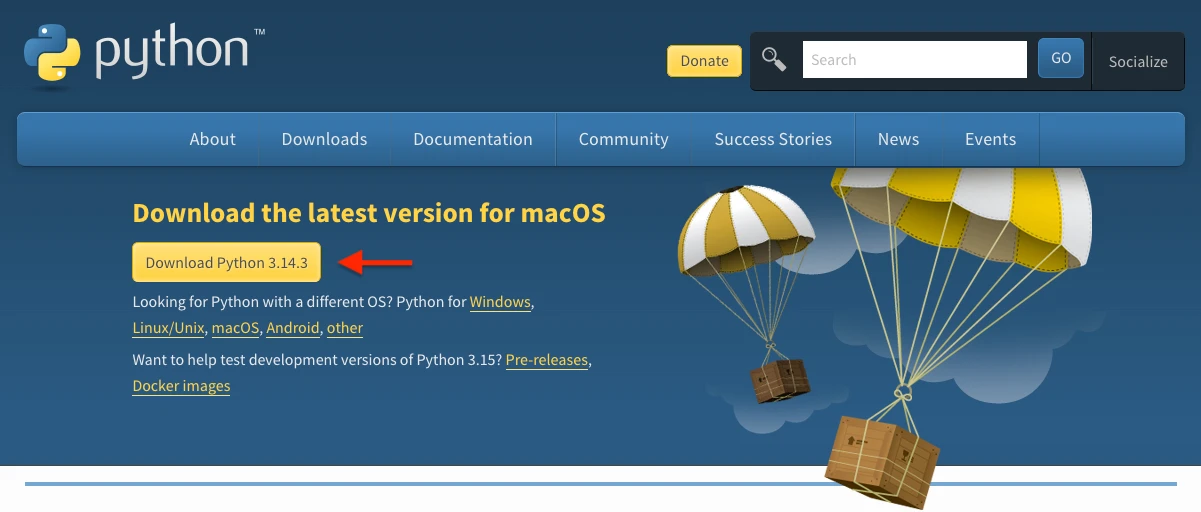
The exact number will be slightly different — that is the version number and it changes as Python is updated. Click that yellow button and nothing else. Ignore all other links, version lists, and options on the page.
Version Check
Python comes in numbered versions like 3.11, 3.12, 3.13. Think of these like editions of a book — each one is a slightly improved version of the same thing. For this course, any version starting with 3 is perfectly fine. What you must avoid is anything labelled Python 2, which is an older retired version that works differently. The yellow button on python.org/downloads will always give you the correct one.
Installing on Windows
After the download finishes, open the installer file (it will end in .exe). You will see an installation screen with several options. Before clicking anything else, look at the bottom of the screen for a checkbox that says:
Add Python to PATH
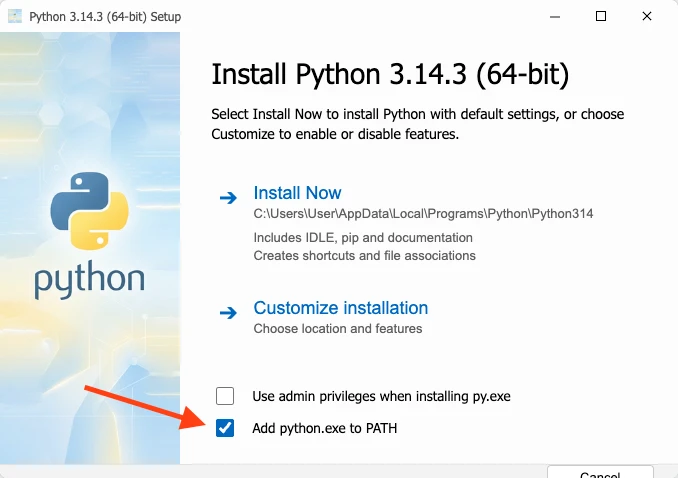
Tick that box. This step is critical.
What is PATH and why does it matter?
Imagine your computer is a large office building with hundreds of rooms, each containing a different program. When
you type python in the terminal, your computer needs to find the Python room to run it.
But your computer does not search the entire building every time — that would be slow. Instead, it checks a specific list of rooms it is allowed to look in. That list is called the PATH.
When you install Python without ticking the checkbox, Python is installed into the building perfectly fine — but its
room is not added to the list. So when you type python in the terminal, your computer checks its list,
does not find Python on it, and returns an error saying python is not recognised as a command.
Ticking Add Python to PATH during installation simply tells your computer: add Python to the list of
places you check. After that, typing python anywhere in the terminal works instantly.
Already installed?
If you have already installed Python without ticking this box, do not worry. Simply uninstall Python from your computer (via Settings > Apps on Windows), then reinstall it, this time ticking the checkbox. It takes about five minutes.
After ticking the PATH checkbox, click Install Now and let the installer finish. When it is done,
close the installer and go back to your terminal or command prompt. Type python --version again. You
should now see a version number.
Installing on Mac
The Mac installer is a .pkg file that behaves like any other Mac installer. Open it and click through the steps. There is no PATH checkbox to worry about on Mac — the installer handles this automatically.
Once finished, open Terminal and type python3 --version. You should see a version number starting with
3.
Step 3 — Choose where to write your code
Code is written in plain text files. You need a program to write and edit those files. This is called a code editor or text editor.
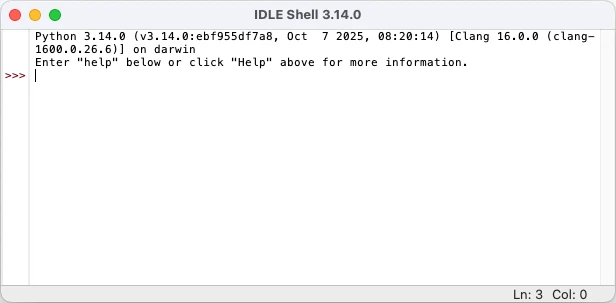
For this course, we recommend IDLE. It comes bundled with Python — you already have it. It is basic, uncluttered, and designed specifically for beginners. You will not need to install anything extra.
To open IDLE on Windows, press the Windows key and search for IDLE. On Mac, open Spotlight with Command + Space and type IDLE.
Why IDLE?
Many online tutorials recommend editors like VS Code or PyCharm for beginners. These are excellent tools — but they have their own learning curves. For this course, start with IDLE. Once you are comfortable with Python itself, switching to a more powerful editor will feel easy rather than overwhelming.
Step 4 — Create your project folder
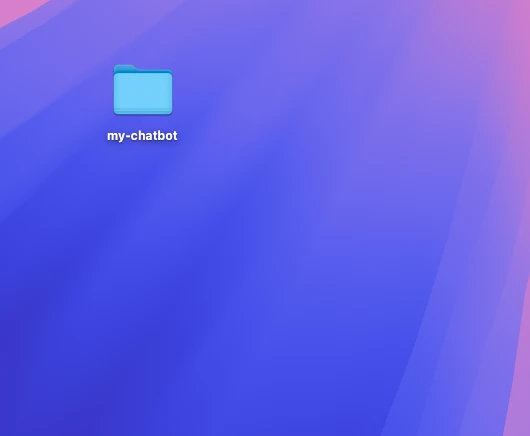
Before writing any code, create a dedicated folder on your computer for this project. This keeps everything organised and easy to find.
Create a new folder on your Desktop and name it my-chatbot. Every file you create during this course goes inside that folder.
Step 5 — Write your very first line of code
Open IDLE. Go to File > New File. A blank window will appear. Type exactly this:
print("Hello, world!")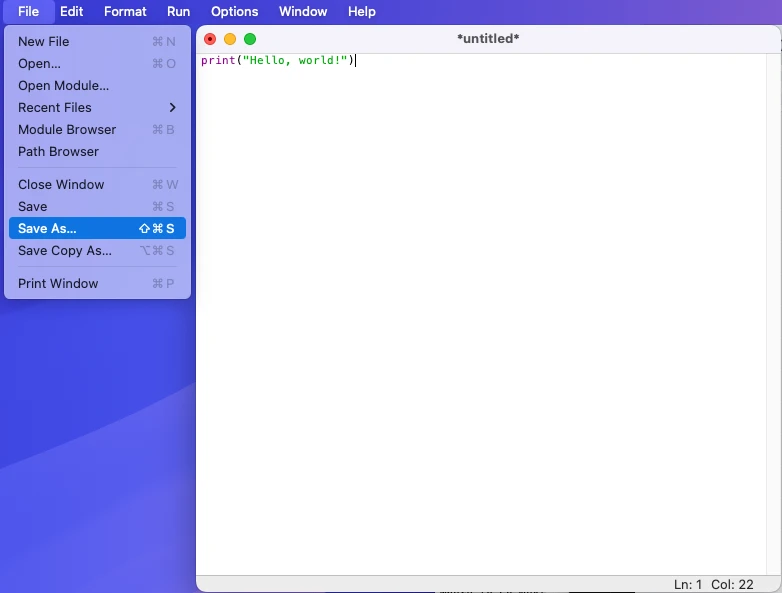
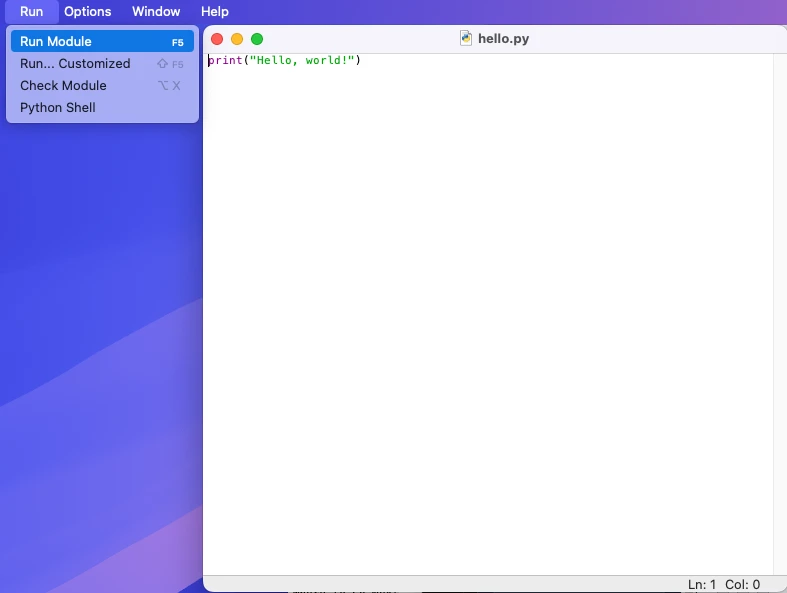
Go to File > Save and save the file as hello.py inside your my-chatbot folder. Then go to Run > Run Module.
When you run your "Hello, world!" program, you should see this in the main IDLE Shell window:
Hello, world!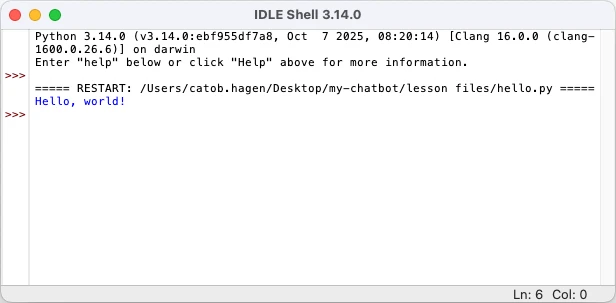
That is your first program. You gave your computer an instruction and it obeyed. That is all programming ever is — instructions, given in a language the computer understands.
A note on errors
Before moving on, there is one important thing to understand: errors are completely normal. Every programmer — from absolute beginners to professionals with decades of experience — encounters errors constantly. They are not a sign that something is wrong with you or that you are bad at this.
An error message is your computer trying to tell you what it does not understand. Learning to read error messages is one of the most valuable skills you will pick up in this course. When something breaks — and it will — resist the urge to panic. Read the error message, look at the line it points to, and make a small change. That cycle is how all programming works.